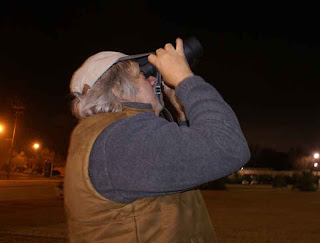
Each month I will describe sights of interest in the night skies of South Carolina. These sights will be broken down into three sections; what you can see with the naked eye, with binoculars, and with a small telescope. The best time to view the night sky is at and around the times when the Moon is not visible, what is known as a New Moon; which will occur this month on March 15th. For March, your best viewing nights will be from March 4th through March 19th. The Star chart below is set for Florence, SC on March 15th at 9 pm.
How to locate any object in the night sky:
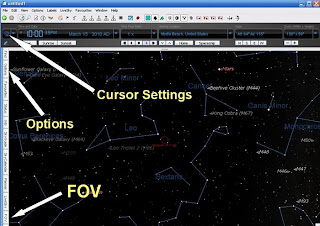
There are two settings that have to be placed. The first setting is called FOV (field of view); this a one time setting. Turn your scope to any area of the sky; I find it preferable to use a constellation. Choose two stars that are at the opposite edges of your field of view, this may take some searching; below I used two stars in the head of the constellation Hydra.
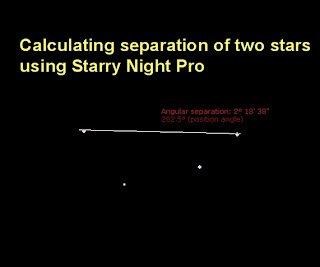
Now go to Starry Night, change the setting of the cursor from adaptive to angular separation. Using the cursor, find the angular separation of the two stars you choose. Example, for the eyepiece I choose, the separation was 2.3 degrees.
Now open up the FOV window, choose new entry, then name the eyepiece, example Oberwerk 25 X 100, and enter 2.3 degrees.
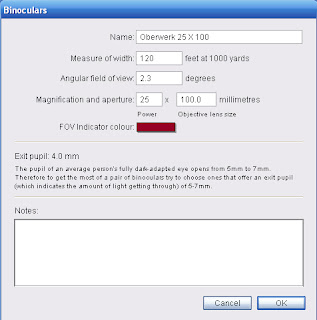
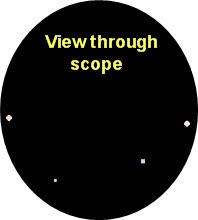
Now any time I use this scope and eyepiece, I open up FOV, click on Oberwerk 25 X 100, and the circle on the star chart represents what I see through my telescope, see below. Note: You can open more than one FOV circles at the same time.
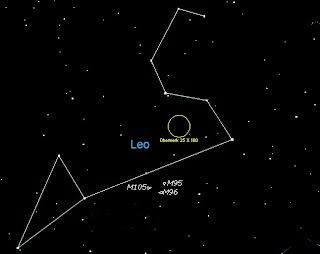
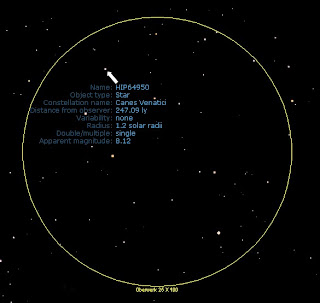
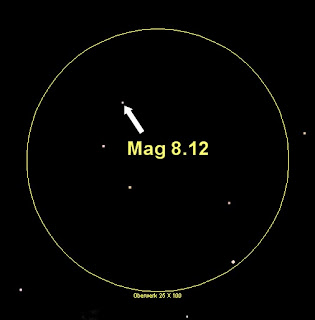
The second setting must be inserted each time you use your scope. Next turn your scope to any point in the sky; again, it is better to look at a familiar area, such as a constellation. Then with your FOV circle activated, compare the faintest star you can see in your eyepiece with the Starry Night view of the same location. With the cursor set at adaptive (normal setting), place the cursor on one of the faintest stars visible through your eyepiece, and check the listed magnitude; I usually do this on two or three stars. See below the faintest star found visible was magnitude 8.12.
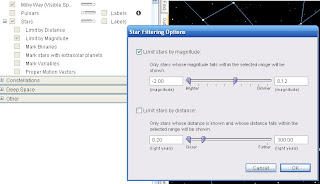
Next click on Options, then scroll to stars and click on stars. This will open a box that has a slider that will allow you to set visible star magnitude. Move the slider to match the magnitude of the faintest star you could see.
When you are done with both settings, what you see anywhere in the sky through the eyepiece of your scope, is exactly what you see inside the FOV circle on the Starry Night screen.
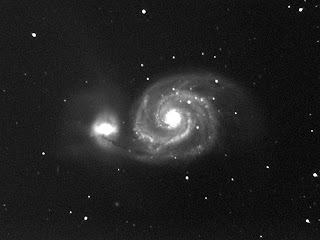
Now let’s go find a target. Let’s try for a somewhat difficult Messier target, M51 (The Whirlpool Galaxy) in Canes Venatici. This is a beautiful object when seen through a large amateur scope, see below.
Let’s assume it is 10 pm on March 15. First I set up my scope and laptop and open Starry Night Pro. Next I click on FOV at the left of the screen and then click on Oberwerk 25 X 100, which places the correct FOV circle on the screen. Next I check out various places in the sky as described above to find the dimmest star I can see at 25 power; assume the dimmest is magnitude 8.12 (not a good night). I then go to the options on the left of the screen, go to stars and set the limiting magnitude at 8.12; all set!
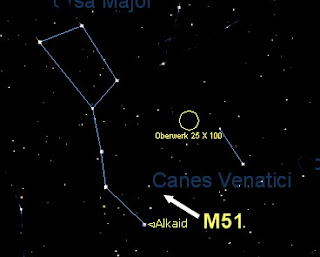
On Starry Night, I then zoom in on Alkaid and position my FOV circle so it “points towards” my target. This places the star Alkaid near the 8 o’clock position on the circle.
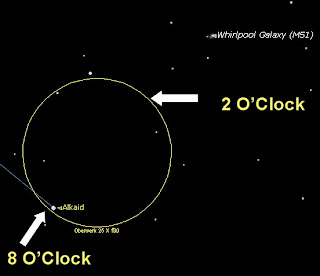
I now note that if I move my scope about one FOV in the 2 o’clock direction, I should see only three stars in a triangle. If I see a “smudge” on the right side of the triangle, it can only be my target, M51.
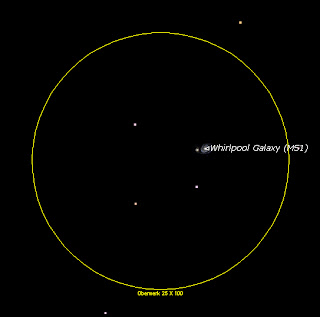
I can then increase my power to better view this galaxy. If I cannot see the target at all, it is just a bad viewing night, but I still can enter into my log book, “Located M51, but could not see it.”
See you next month!
